There’s something genuinely magical about DJing with vinyl. The tactile connection to the music, the raw, warm sounds, and the subtle artistry involved in maneuvering the turntable – it’s all part of a deeply engaging experience that digital DJing simply can’t replicate. Vinyl DJing represents a beautiful blend of old and new, a nod to tradition layered with modern creativity.
I remember the first time I slid a vinyl record out of its sleeve and placed it onto a turntable. The world seemed to hold its breath as the needle dropped, and when the music filled the room, it wasn’t just sound – it was a story being told. My hands on the turntable, my ears attuned to the rhythm, I realized then that this was not just about playing music. DJing with vinyl was a craft, a form of communication I was just beginning to learn but eager to master. It was the start of a lifelong passion.
Dive with me into the vinyl DJing world. We’ll discover the set up essentials, craft a library, and master technical skills. Ready to spin and scratch like never before? Let’s drop the needle!
The essential equipment for vinyl DJing

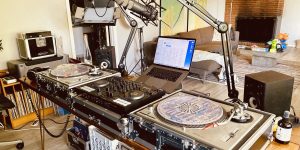
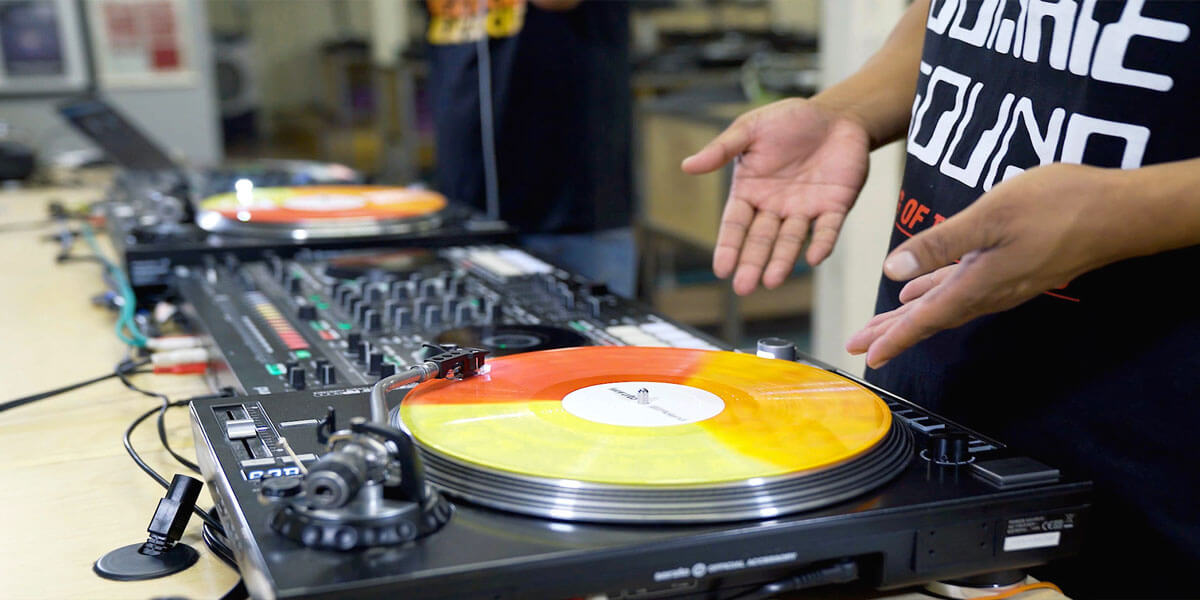
Stepping into the world of vinyl DJing necessitates some fundamental gear. The turntable, the star of the show, spins your vinyl records. You’ll want a model specifically designed for DJing, offering the right torque and pitch control balance for seamless beatmatching.
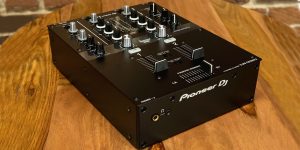
Next up is the mixer – your command center. It’s the tool you’ll use to fade between tracks, adjust levels, and EQ your sound. Mixers can range from basic two-channel varieties to multi-channel behemoths with built-in effects.
Don’t forget your headphones – they’re not just an accessory, they’re vital for cueing up the next track while one is already playing, a critical step in ensuring smooth transitions.
And, of course, records. A variety of genres, tempos, and styles will keep your sets interesting and dynamic. Lastly, reliable speakers are essential to hear your masterful mixing and for the audience to enjoy your art.
Building your personal DJ vinyl record library

Your DJ vinyl library is more than just a collection – it’s your unique musical toolbox. Each record tells a story and contributes to the vibe of your sets.
The first step in the library building is selecting genres. Rather than limiting yourself to one style, consider diversifying. You might love hip-hop, but sprinkling in funk, soul, or reggae records can add layers to your sets, providing unexpected moments that keep your audience engaged.
Choosing artists is your next step. Start with your favorites but delve into their influences and contemporaries too. If you’re a fan of DJ Shadow, for example, explore the likes of RJD2 or Cut Chemist. This approach will lead you down fascinating musical rabbit holes and make your sets distinct.
Remember, rare doesn’t always mean good. It’s tempting to snatch up obscure records, but only add them to your library if they enhance your sets. The same goes for crowd-pleasers – they’re popular for a reason, so don’t shy away.
Finally, always be on the hunt. Record stores, online shops, and even yard sales can yield hidden gems. Creating your library is an ongoing process, but each new discovery is a thrilling addition to your musical narrative.
Techniques in vinyl DJing: The basics

Now that you’re equipped with the gear and records let’s delve into the core techniques of vinyl DJing. We’ll master the art of beatmatching, seamless transitions, scratching, and perfecting EQing.
Mastering beatmatching
Beatmatching is the heartbeat of DJing, the fundamental skill of syncing the tempo of two tracks for a seamless blend. This technique requires a keen ear and a deft touch.
Start by cueing up your next track in your headphones while your current track plays out loud. Listen for the beat – usually the kick drum or bass line – and adjust the pitch control on your TT until the beats align. You’ll often have to tweak the pitch slider back and forth to get it just right, a process known as “riding the pitch”.
Remember, this isn’t a race. It’s okay to take your time. The goal is to match the beats so well that when you transition between tracks, your audience doesn’t notice a change in tempo.
Smooth transitions: the art of mixing tracks
Once you’ve mastered beatmatching, it’s time to finesse your transitions, the magic moment when one track hands over the spotlight to the next.
Transitions start with the track selection. Aim for songs that complement each other, either by genre, tempo, or mood. Mixing a slow ballad into a high-energy techno track may jolt your audience, breaking the flow.
Use your mixer’s crossfader, the sliding control that adjusts the balance between your two turntables. As one track plays, gradually slide the crossfader towards the new track, subtly introducing its sound into the mix. Remember, smoother transitions often involve a gradual fade rather than an abrupt switch.
Listen to the phrasing of your tracks, too. Songs typically have sections lasting 16 or 32 beats. Try aligning these sections when transitioning to maintain musical coherence.
Ultimately, successful transitions depend on practice, experimentation, and your instincts as a DJ. Trust your ear and don’t be afraid to take risks – that’s where the magic happens.
Introduction to scratching
Scratching is an expressive technique that allows you to manipulate sound in real time, adding a creative layer to your sets. It involves moving the record back and forth on the turntable while the stylus is in the groove, creating a distinct, rhythmic sound. Here’s how to start:
- Select a sound on your vinyl – a vocal snippet, drum break, or any short, distinct sound works great.
- Place your fingers lightly on the record and practice moving it backward and forward, listening to how the sound changes.
- Once you feel comfortable, try doing this while a track is playing on your other turntable. The mixer’s crossfader will be your ally here, allowing you to control when your audience hears the scratch.
Scratching can range from simple cuts to complex patterns. Like any technique, it requires practice, but the payoff is a dynamic and interactive element in your DJing toolbox. Scratch on!
Perfecting EQing for optimal sound
An often overlooked but crucial aspect of DJing is EQing, or Equalizing, which involves adjusting various frequency bands to achieve a balanced sound.
Your mixer has EQ controls for low (bass), mid, and high (treble) frequencies. These controls allow you to sculpt the sound of your mix. For example, if two tracks have heavy basslines, their lows could clash when mixed together. By reducing the bass of one track using the EQ, you can prevent this.
Likewise, if a track’s vocals are buried under other instruments, try boosting the mid-range frequencies to make them more prominent. Conversely, if the high hats or snares are too sharp, dialing down the high frequencies can smooth them out.
Remember, less is often more with EQing. Extreme changes can make tracks sound unnatural. The goal is to maintain a full, clear sound where each track complements the other, rather than competing. So, grab those knobs and start EQing your way to a better mix.