If you’ve ever been intrigued by the charm of vinyl records and want to experience music in a nostalgic and authentic way, learning how to use a record player is essential. In this guide, I’ll take you on a journey through the world of record players, exploring their various types, components and the step-by-step process of using them.
Understanding different types of turntables

To begin with, let’s take a closer look at the different types of TTs, each offering its unique flavor to elevate your listening experience.
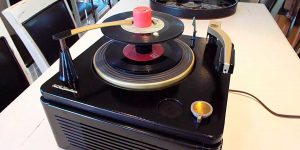
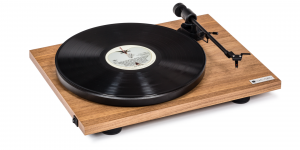
Manual turntables
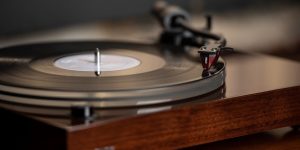
Picture yourself gently placing the needle on the record, feeling the anticipation build as the music begins to play. That’s the charm of a manual turntable, where you become the conductor of your vinyl orchestra.
- Benefits. Manual record players offer a hands-on experience that immerses you in the music. You have complete control over every playback aspect, from the needle placement to the delicate lift-off. It’s like having a personal connection with your vinyl collection. Plus, manual turntables are known to treat your precious records with the utmost care.
- Drawbacks. It’s true that using a manual turntable requires a bit more effort and attention. You have to be mindful of properly placing the needle and remembering to lift the tonearm when the record ends.
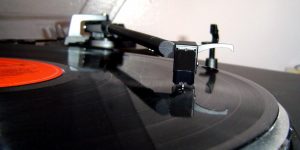
Semi-automatic turntables
Semi-automatic turntables offer a perfect blend of hands-on interaction and convenient automation.
- Benefits. With a semi-automatic player, you get to experience the joy of placing the needle on the record, savoring that tactile connection. But here’s the kicker – when the record reaches its end, the player gracefully takes over, gently returning the tonearm to its resting place. It’s like having a trusty sidekick that ensures your vinyl adventure ends smoothly.
- Drawbacks. Admittedly, even with automation, there’s still a bit of manual involvement. In addition, the automatic mechanism may introduce a slight hum or vibration that may slightly affect the sound quality.
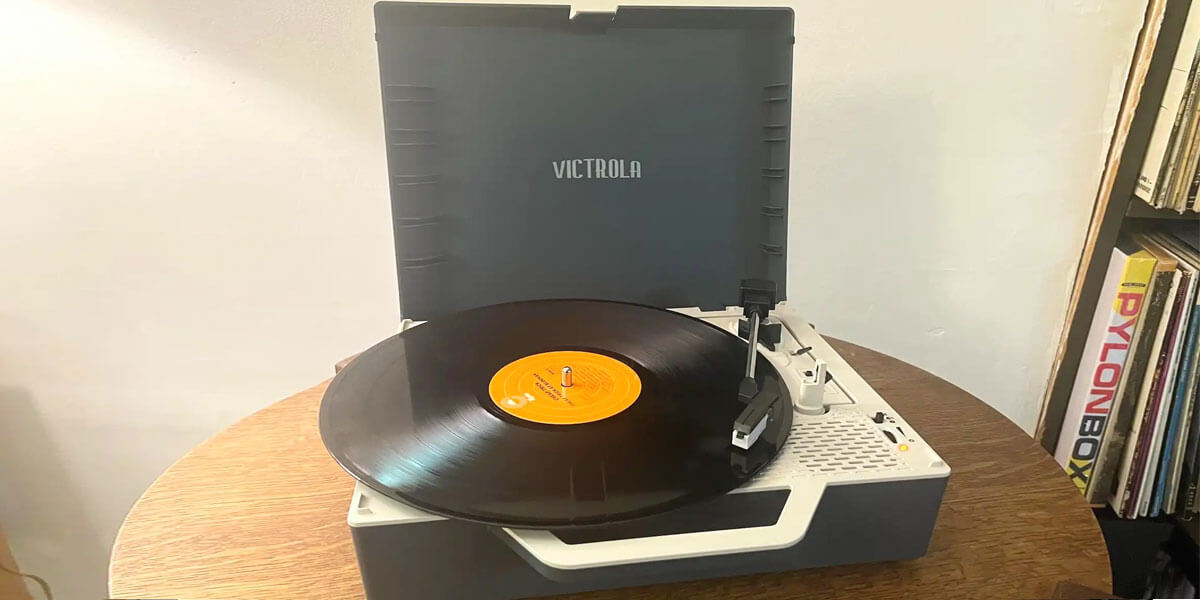
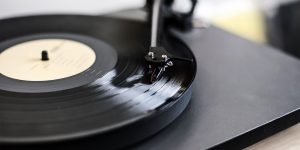
Automatic turntables
Imagine a player that takes care of everything for you – the needle delicately lands on the groove, the music fills the room, and when the song is over, it gracefully bids farewell and rests itself. That’s the magic of an automatic turntable.
- Benefits. Automatic turntables are ideal for those who seek convenience and are not looking for “perfect sound”. Just press a button, sit back, and let the turntable handle the rest. No more worries about needle mishaps or accidental damage to your beloved records.
- Drawbacks. The quality of sound, assembly, and components of such a turntable is inferior to the previous two types. I should also note that additional parts and mechanisms in automatic turntables may create a barely noticeable noise or vibration when playing records.
By understanding the distinctive flavors of each turntable type, you can embark on a musical adventure tailored to your preferences.
Preparing your turntable setup

When embarking on your vinyl journey, it is crucial to carefully select a player. In this section, I’ll provide some practical tips to help you create a setup that enhances the performance and enjoyment of your turntable.
Choosing the right turntable
Before diving into the world of vinyl, it’s important to choose a turntable that suits your needs and preferences.
- Determine how much you’re willing to invest in a player and set a realistic budget.
- Think about the specific features you’re looking for, such as built-in phono preamp, USB connectivity, automatic or manual operation, and adjustable tracking force.
- If you are new to vinyl, an automatic turntable with simple settings and controls may be ideal. If you have some experience, you may prefer a more expensive model with an emphasis on sound quality.
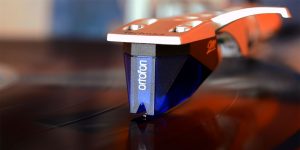
When selecting a turntable, you may also want to consider factors such as the drive type, build quality, speed accuracy, and cartridge options.
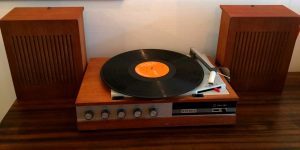
Selecting suitable audio components
Apart from the turntable itself, other audio components play an important role in delivering high-quality sound.
- Choose speakers that complement your player and suit your listening space. Consider factors such as frequency response, power handling, and speaker placement.
- Select an amplifier that provides clean power and meets your connectivity needs. Decide between integrated amplifiers or separate preamplifiers and power amplifiers based on your preferences and requirements.
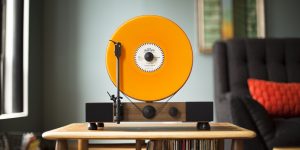
Setting up your audio space
Creating an optimal audio space is essential for maximizing your turntable’s performance.
- Take into account the size and shape of your room, and consider acoustic treatments to minimize unwanted reflections.
- Experiment with speaker placement to achieve a balanced soundstage and imaging.
- Avoid placing objects that could introduce vibrations or interfere with sound propagation.
By considering these aspects of preparing your turntable setup, you will be able to organize your audio space correctly, which in turn will have a positive effect on the sound.
How to use a turntable: step-by-step guide

Having a thorough understanding of the step-by-step process involved in playing a vinyl record on a manual turntable is indispensable for any ardent vinyl enthusiast. In this section, I will provide you with comprehensive guidance that will allow you to easily work with most types and models of vinyl turntables.
- Begin by ensuring that your turntable is meticulously set up, with careful alignment of the platter, tonearm, and cartridge. To preserve the pristine condition of your record, handle it exclusively by the edges, avoiding any contact with the delicate playing surface. Power on your turntable and allow it to reach the appropriate speed, typically either 33 1/3 RPM or 45 RPM, depending on the record. Adjust the speed selector accordingly for optimal playback.
- Gently place the vinyl record on the platter, ensuring that it sits flat and centered. If your turntable is equipped with a spindle adapter for 45 RPM records, use it as necessary. Lift the tonearm and position it near the record’s edge. Gradually lower the tonearm onto the record’s surface, employing either the cueing lever or manual guidance.
- As the tonearm descends, the stylus will make delicate contact with the grooves, ushering in enchanting music. Take a moment to ensure that the stylus is tracking smoothly and that the sound quality is optimal. Make minor adjustments to the tracking force or anti-skate settings to enhance playback performance if needed.
- Once the record has finished playing, delicately lift the tonearm using the cueing lever or manually guide it away from the record.
By following these guidelines, you should be able to accomplish this task on your own without much trouble. If there are any difficulties in the process, I recommend studying the manufacturer’s manual or contacting a specialist.
How to skip tracks on a vinyl record
Skipping tracks on a vinyl record is a common task that allows you to jump to a specific song without playing through the entire side of the record.
- Lift the tonearm gently and move it toward the center of the record.
- Rotate the record manually, carefully aligning the stylus with the desired track.
- Lower the tonearm onto the desired track, ensuring it lands gently and securely.
- Enjoy listening to the selected track.
Remember to handle the record and tonearm with care to avoid any damage.
Learning how to use a record player opens up a world of timeless music and brings back the nostalgia of vinyl listening. By following the step-by-step guide and understanding the key components of a player, you can confidently set up your record player, handle vinyl records properly, and enjoy high-quality audio.


![Connect a Turntable to Your Wireless Bluetooth Speakers [Easy Guide]](https://www.vinylrecordday.org/wp-content/uploads/2021/12/tuntable-and-sonos-speaker-300x150.jpg)